The Popgenix– Countdown Timer Editor in Shopify allows you to create urgency-driven promotional banners that can help boost conversions. This guide walks you through each section, so you can easily design and customize your countdown bars for maximum impact.
1. Naming Your Countdown Bar #
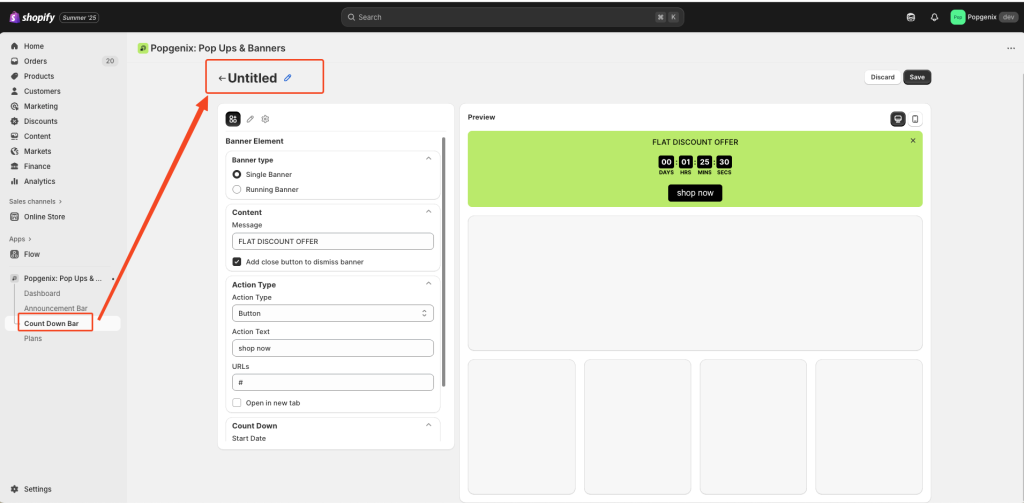
At the top of the editor, you’ll see the title field.
- Click the pencil icon to rename your countdown bar.
- Use a descriptive name that matches your campaign, such as “Summer Sale Countdown” or “Flash Deal Timer,” so it’s easy to identify later.
2. Configuring the Banner Element #
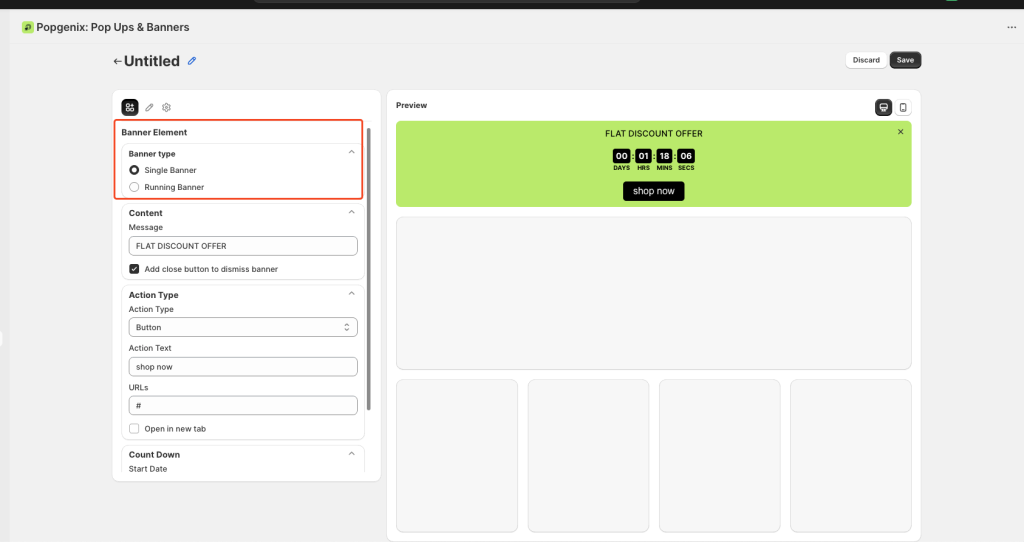
In the Banner Element section, you’ll control the main content and functionality of your countdown bar.
Banner Type #
- Single Banner – A static bar with fixed text and timer.
- Running Banner – A moving, marquee-style banner that scrolls across the page.
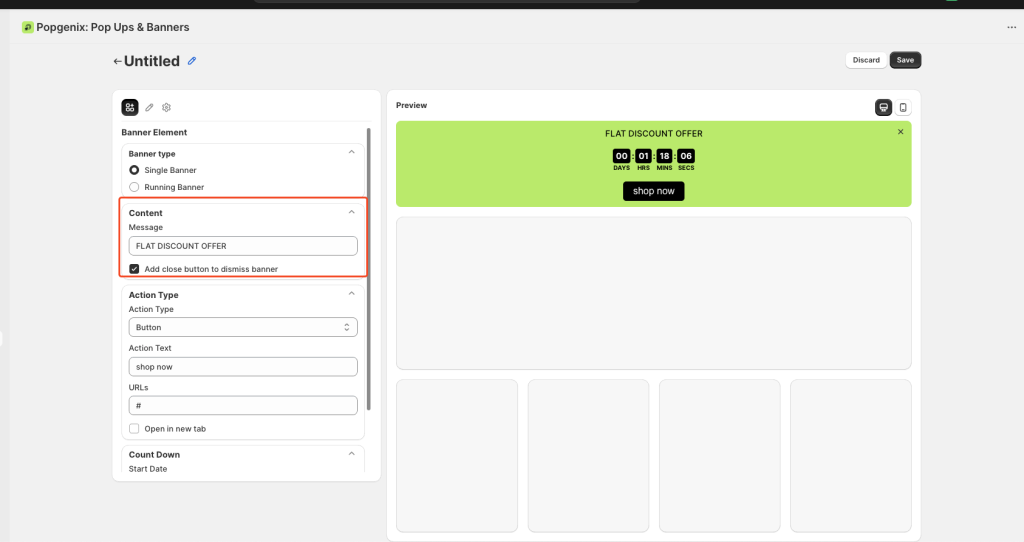
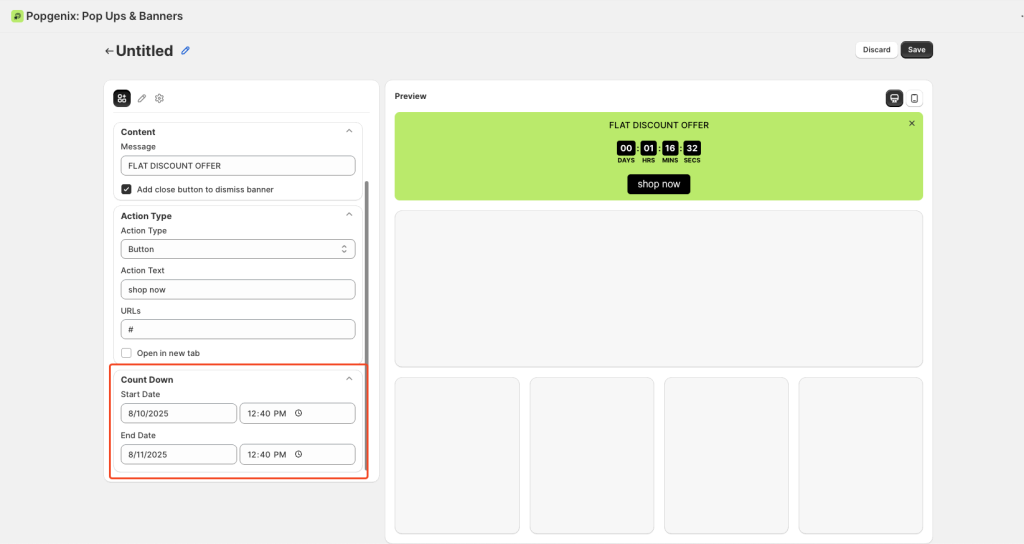
Content #
- Message – Type the promotional text, such as “Flat 50% Off – Limited Time Only!”.
- Optional: Check “Add close button” so visitors can dismiss the banner.
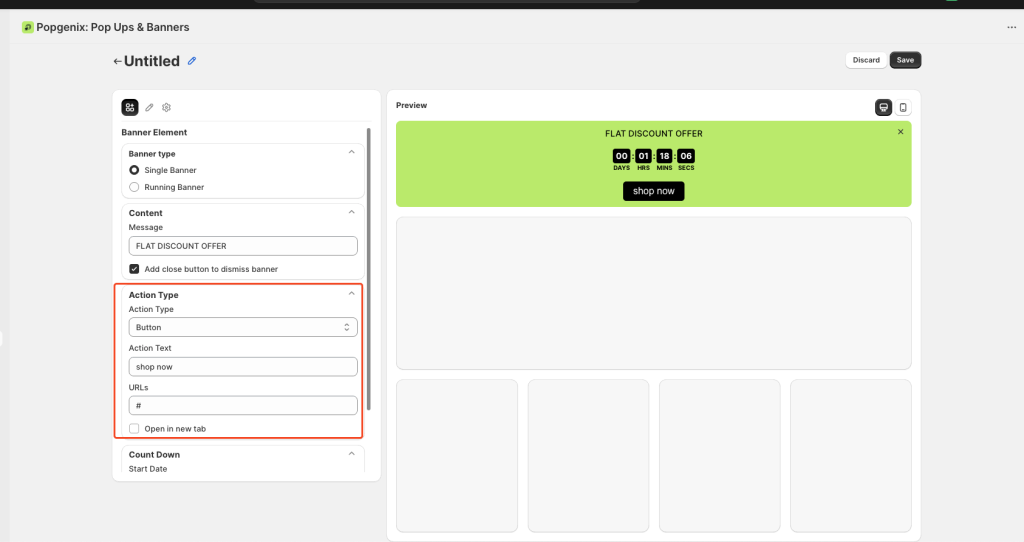
Action Type #
- Select how users can interact with your banner:
- Button – Adds a clickable button with a call-to-action (e.g., “Shop Now”).
- Enter the Action Text and URL where users should go.
- Enable “Open in new tab” if linking to an external page.
Count Down #
- Set your Start Date and time for the countdown to begin.
- The timer automatically counts down until the offer ends.
3. Styling Your Countdown Banner #
In the Banner Style section, you can customize the look of your banner.
Layout & Background #

- Choose Solid or Gradient background.
- Set Solid Color (e.g., green
#bbae4b) or upload a background image. - Adjust Margin and Padding for spacing.
- Set Item Alignment to Vertical or Horizontal.

Text & Button Styles #
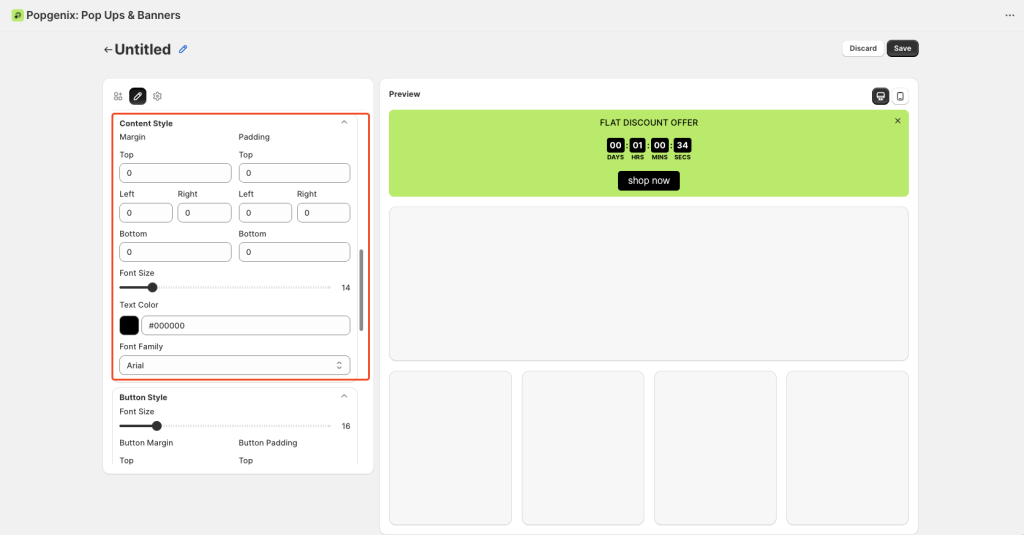
- Content Style – Change font size, text color, and font family for your banner text.
- Button Style – Adjust button size, margin, padding, colors, and font family.
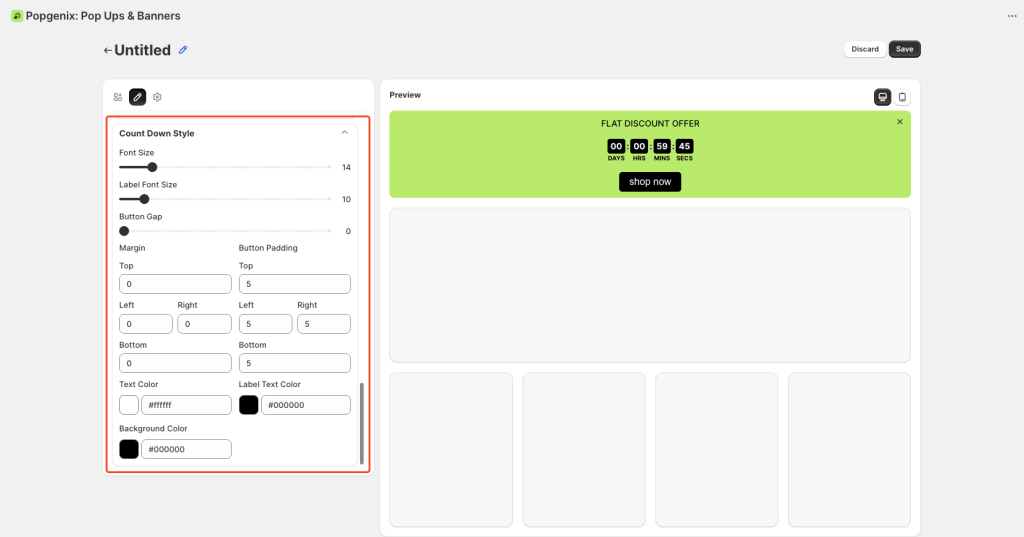
- Count Down Style – Customize timer font size, label size, colors, and spacing.
4. Banner Settings & Scheduling #
In the Banner Setting tab:
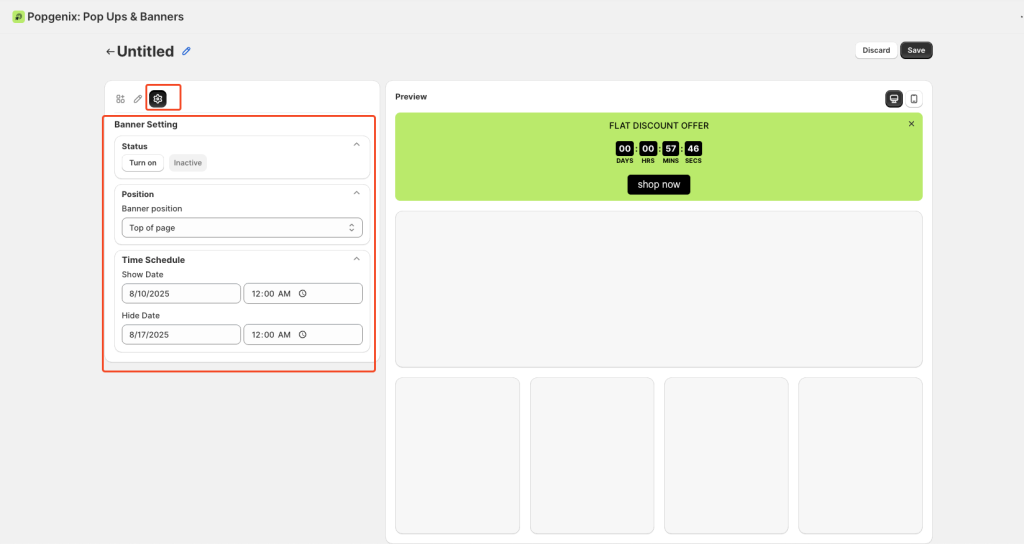
Status #
- Turn your countdown banner On or set it to Inactive until you’re ready.
Position #
- Choose where the banner will display (e.g., Top of page, Bottom of page).
Time Schedule #
- Show Date – When the banner should appear.
- Hide Date – When the banner should disappear automatically.
This ensures your countdown bar is only active during the promotion period.
✅ By following these steps, you can create a visually appealing and conversion-focused countdown bar in Shopify that captures customer attention and drives sales.


